This is a guest post written by Vadim Rutkevich, product manager and team leader of the RnD team at Stiltsoft. Stiltsoft is an Atlassian Platinum Marketplace Partner with more than 20 apps for Confluence, Jira, and Bitbucket. Vadim is working on the document management solutions for Jira and Confluence and in this post, he shares his expertise on how to perform document review in Jira Cloud.
Many teams utilize the capabilities of Jira Cloud for building complex document review workflows. However, implementation of such scenarios in Jira Cloud can be greatly affected by its limited document management capabilities.
The Smart Attachments app is this tool which lets you manage documents and categorize attachments in Jira Cloud base on their current status.
In this blog post, we’ll show you how a design team coordinates document review effectively on Jira. In just 3 steps.
Step 1: Task assignment
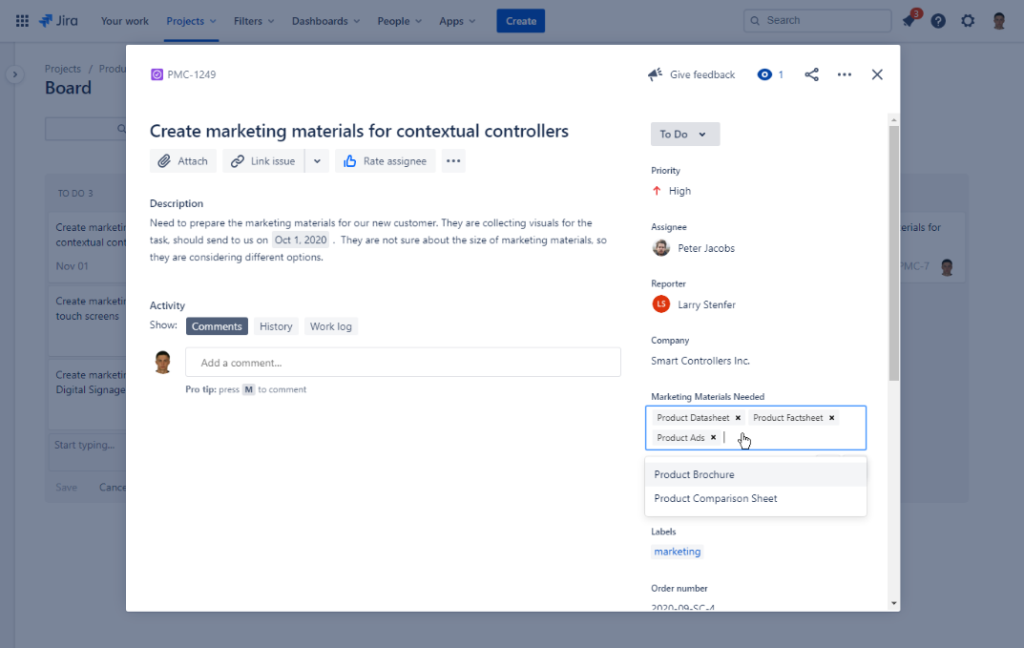
Imagine a digital agency which produces different marketing materials for customers from the manufacturing industry. We try to keep the workflow simple by using the content management workflow. It also makes it easier to track additional details about the client’s order.
New orders from our customers are updated within a dedicated project in Jira Cloud. For each order, the manager creates an issue with additional information about the company, types of needed marketing materials, order number, and due date.
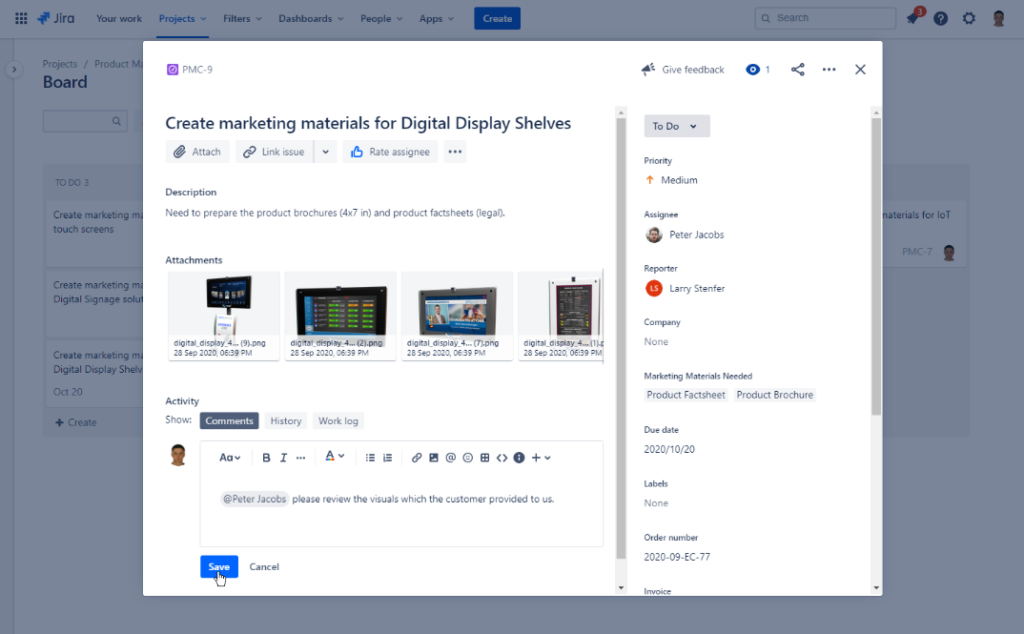
Once the customer provides the visuals, these files will be shared on the ticket as attachments. From there, our designer can review the quality and applicability for the production of marketing materials.
Step 2: Review of visuals
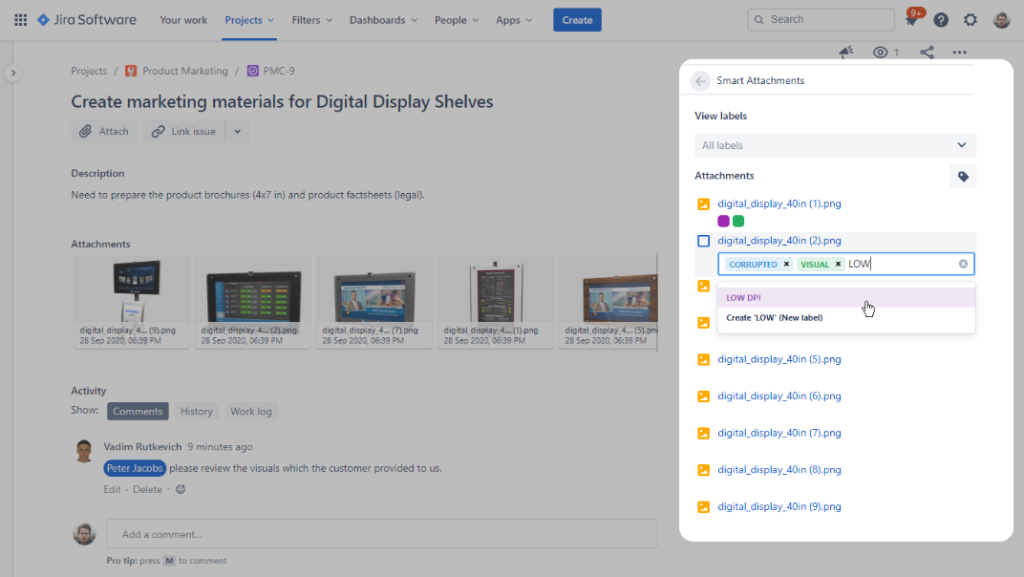
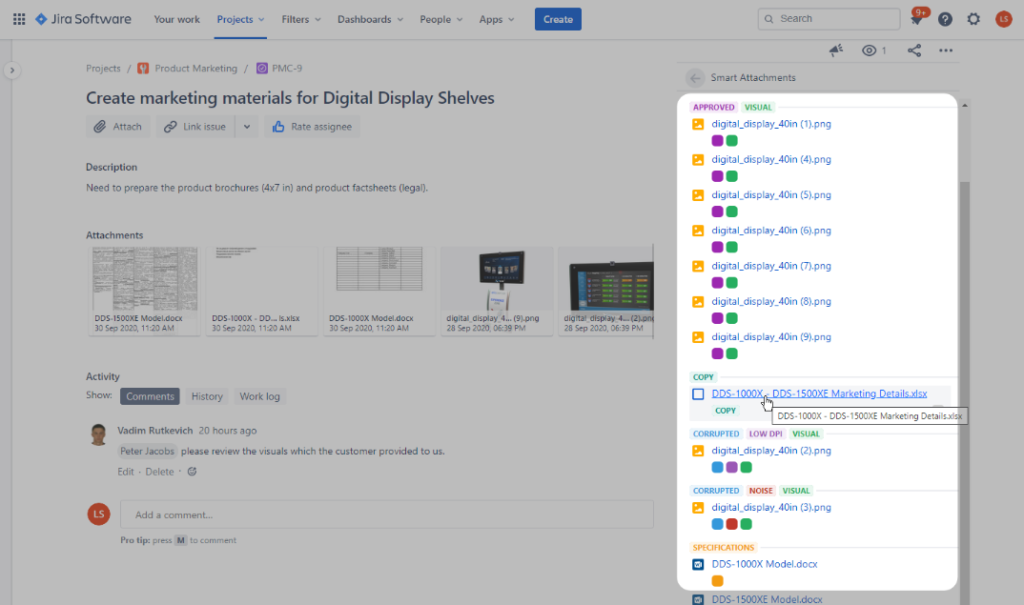
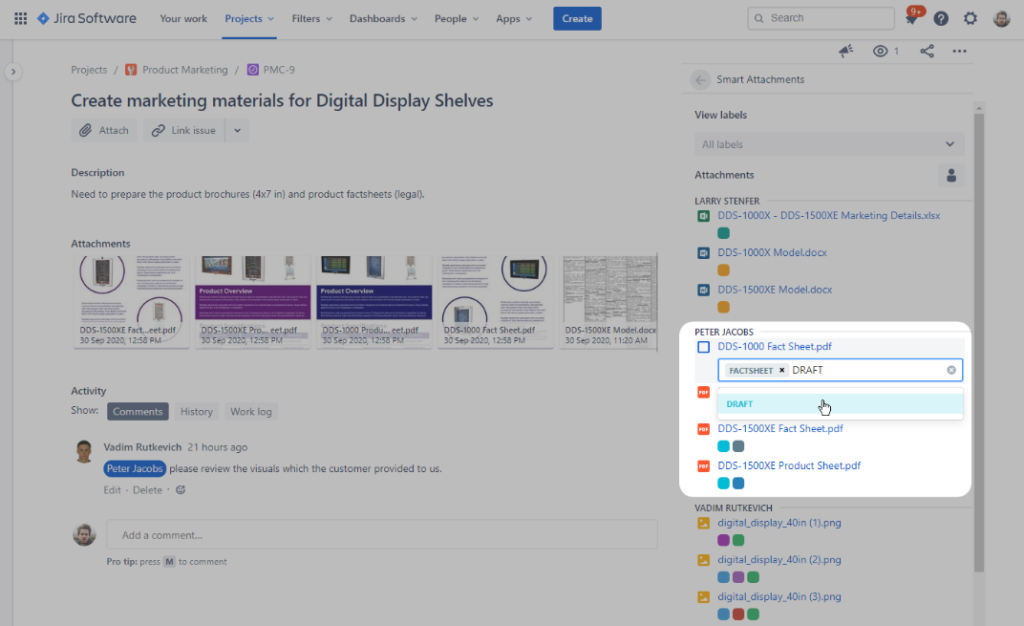
The graphics designer reviews each visual and uses the Smart Attachments app to tag them with the appropriate label. For example, each asset is checked for transparent background, sufficient DPI for printing, noise, and other things that are essential for high-quality printing.
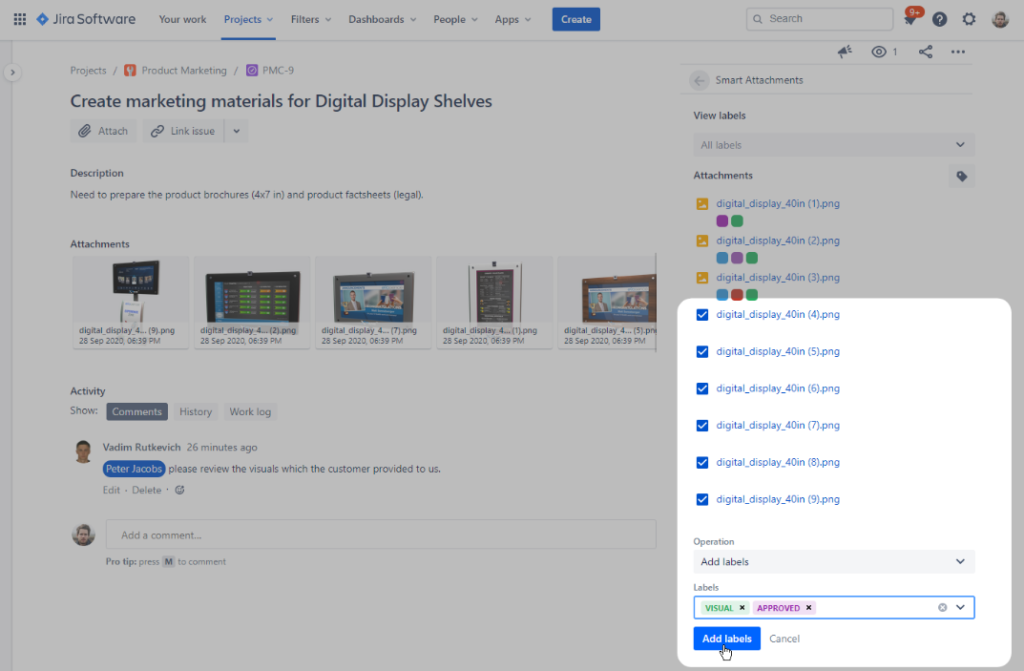
Designers can tag images one by one or apply the required tags to a bulk of visuals. This simplifies the overall process and allows designers to quickly identify and indicate unusable visuals.
When opening the list of assets within the Smart Attachments section, the manager can instantly identify corrupted files and request the provision of new ones from the customer. Once all the required visuals are collected, the graphics designer proceeds to the creation of marketing materials.
Step 3: Creation of marketing materials
In addition to product visuals, customers also provide documents with information about products that should be incorporated into marketing materials. The manager receives these files from customers and attaches them to the issue.
For better categorization of information, these documents are also labelled, so that everyone from the team can easily locate the product copy, spreadsheets with specifications, marketing information and so on.
Graphics designers proceed to the creation of requested marketing materials, such as product brochures, datasheets, presentations, and fact sheets. All the created materials are exported to PDF and attached to the ticket for further review.
Together with the art director, graphics managers perform several iterations on marketing materials according to the customer’s requirements. All the draft versions are attached to the issue.
Once the art director approves the marketing materials, they are ready for sending to the customer’s review. Graphic designers tag the assets with the PENDING label. Upon receipt of approval from the customer, the marketing materials are tagged with the APPROVED label.
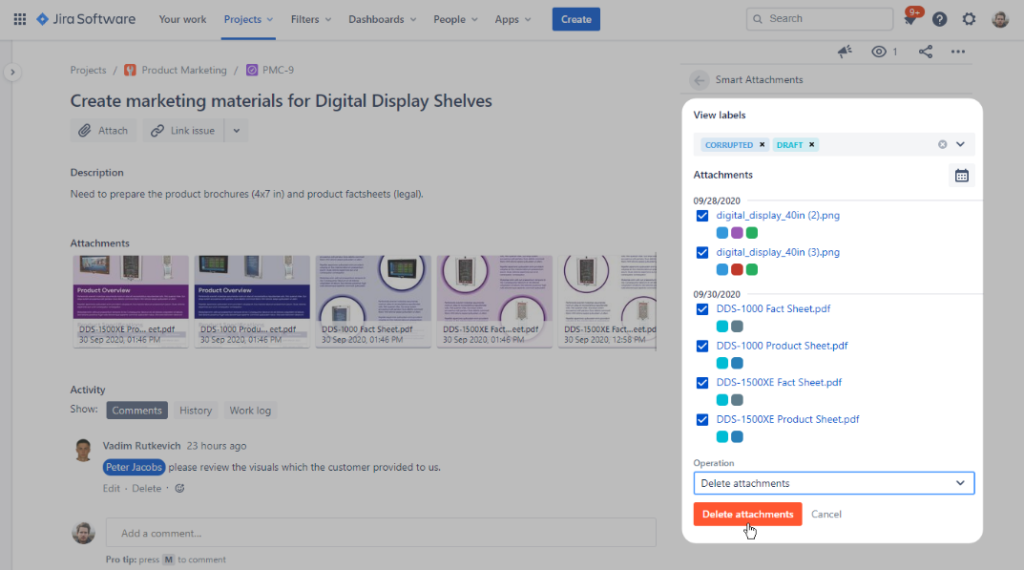
To avoid keeping unnecessary files in Jira Cloud, graphic designers delete all draft files leaving only the assets that were used and marketing materials that were approved.
This way the design team keeps the project workflow simple without implementing a separate process for approving each marketing asset and locates the required files quickly.
Document review in Jira Cloud with ease
With the help of the Smart Attachments app, you can implement an easy but highly flexible document review mechanism. Tagging documents with labels lets you quickly identify the necessary files in Jira and categorize them according to the status, file type, or group against the label, upload date or uploader.
